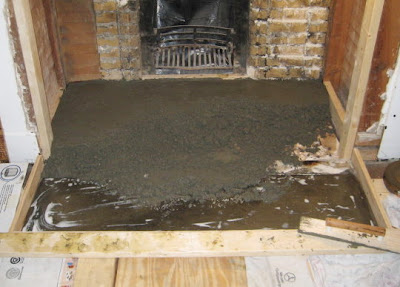
Well, technically we've begun phase 3 of our
hearth project, which is bricking up a portion of the alcove for the woodstove. That is going to take some time, so this post is to give you a peek at our start.
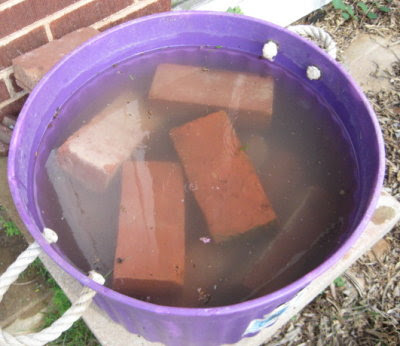
Dan volunteered to lay the brick, so I volunteered to clean them.

Considering that most of them were encrusted with the old mortar, it actually wasn't too bad of a job. That mortar was so soft that it mostly crumbled off (which was
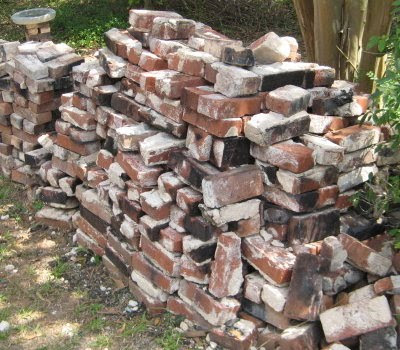
the reason we had to tear down the chimney and fireplace in the first place.) It took me a day and a half to do about 200 bricks. As I worked with them, I was fascinated to see the personality
these old bricks have; being handmade, each one is truly unique.
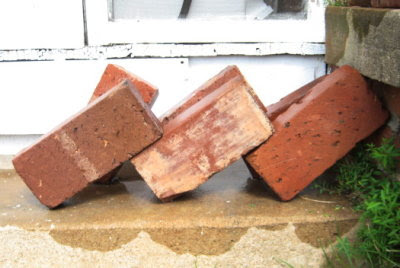
I was especially pleased with how many different colors there are...

... everything from terra cotta, to almost purplish. And, being the brick cleaner, I got to choose which colors we would use. Eventually they will all be used for various projects around the place, but for the woodstove alcove, I liked the darker ones best (as I think they will match my dark cherry living room furniture best.)
For the first course however, we used something different.
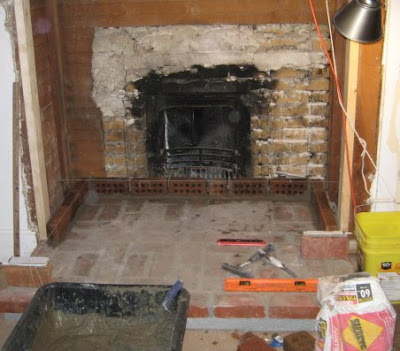

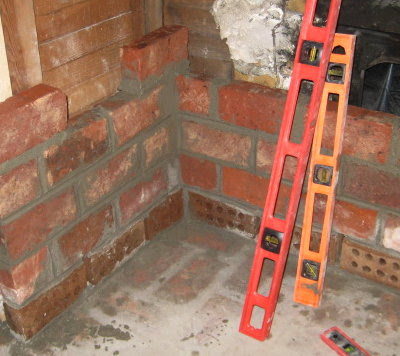
There were about a dozen or so of these bricks with holes in them lying around the place. They were the perfect solution to an issue we had to resolve, that of clearances.
Anyone who has ever had a woodstove is familiar with clearances. Even so, common sense would tell us that one can't place an iron box full of burning wood too close to things that might catch fire. But, since not everyone has common sense, there are codes to cover this sort of thing, i.e. how close a woodburning stove can be to any given wall.
There are a number of options to bring clearances up to code. The simplest is distance, by placing the back of the stove 30 inches, and the sides 18 inches, from a combustible wall. In our case however, the back of the alcove isn't combustible, as it's the back of the brick fireplace in our bedroom. The wood walls on the sides however, were a consideration. The alcove created by
tearing down the chimney breast didn't give us the clearance room we needed using distance alone.
The clearance can be decreased to 14 inches on the sides, with a brick wall against a combustible wall. But by adding a one inch ventilated air space between the wood and the brick, the clearance distance can be reduced to 7 inches. This we could do.
Creating a ventilated masonry wall, requires vents at both bottom and top of the wall to allow for air circulation behind the wall. Those holey bricks will serve as the bottom vents for this. In addition, Dan did not put mortar between the bricks on the bottom course, except in the corners for wall stability.
The plan is to brick the alcove to about the same height as the fireplace, add a brick ledge, and then finish the top of the alcove with mineral (cement) board. We won't have the same clearance issue to deal with at that height, but we wanted the extra measure of safety the mineral board will provide. I'm going to look for some fancy air vents to set into the top of the mineral board to complete our ventilated air space. The stove pipe will be double walled up to the ceiling. From the ceiling on up through the roof, we will use prefabricated metal chimney pipe UL Type HT class A, approved to 2100° F. This will bring the entire system up to code.
And last but not least, for those of you who have been wondering if
Rascal has to snoopervise every aspect of every project, the answer is ...
 YES!
YES!


